We may earn money or products from the companies mentioned or linked to in this post, including Amazon Affiliate links.
If you are looking for a fun, unique step up from a typical lip balm this one may be just the right thing!
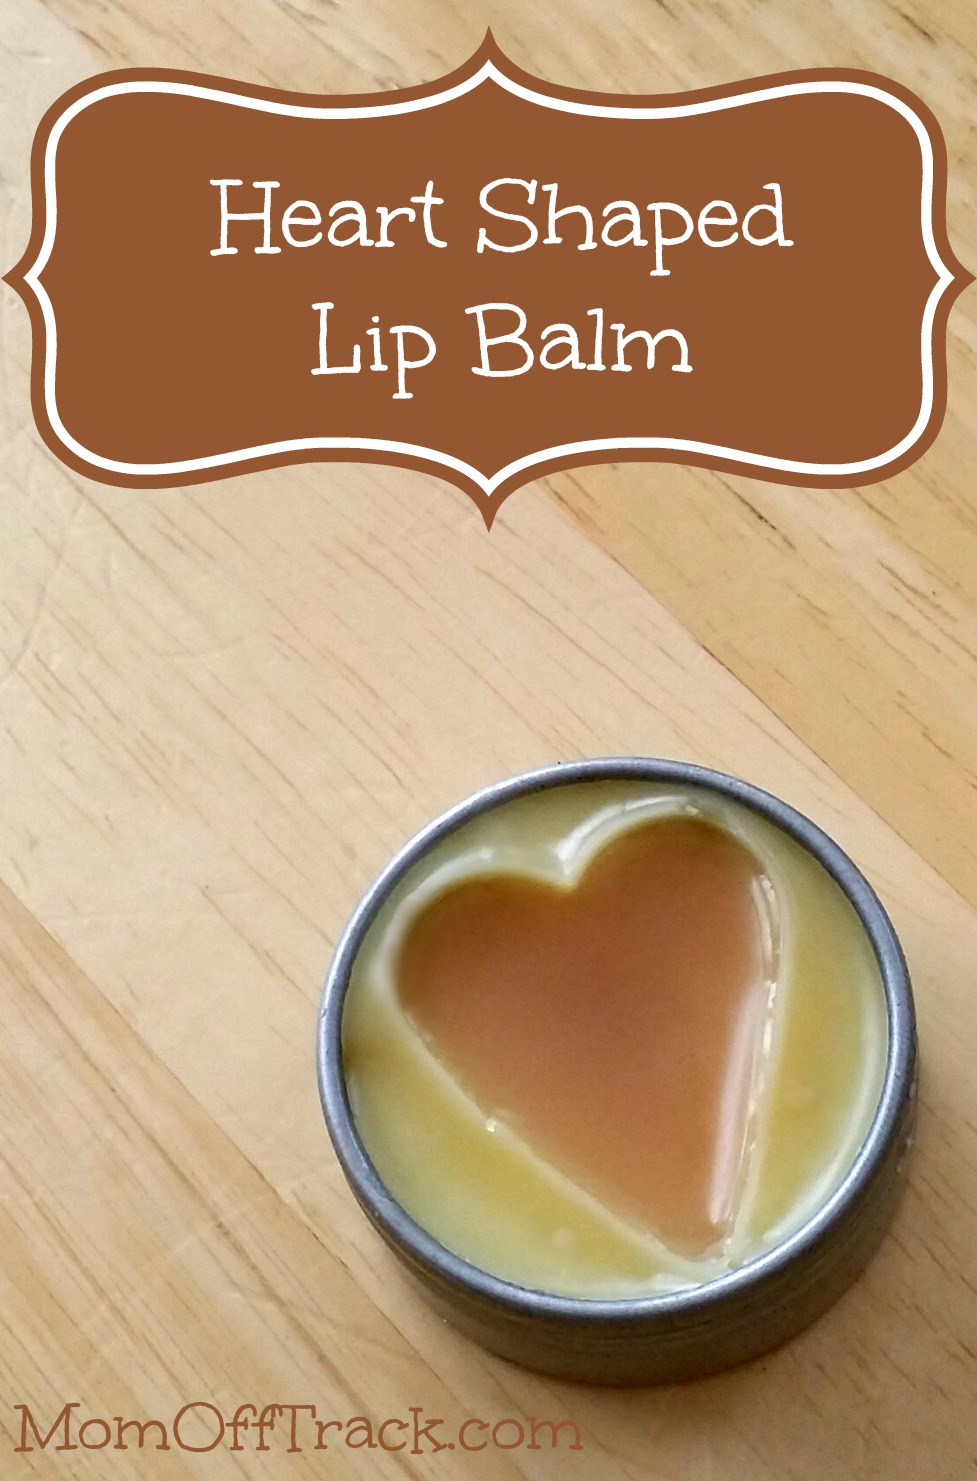
Heart Shaped Lip Balm Ingredients:
These are the actual products/brands I used and are affiliate links.
- 2 Screw Top Round Steel Tins, 1/2 oz size
- heart shaped mini cookie cutter-with this set you can make a heart and another shape at the same time.
- plastic pipette-much easier than glass but not the safest option. If you are experienced with transferring lip balms you should be OK using these but glass is safest (and a mess to clean).
- 1/8 c. coconut oil
- 1 tbsp beeswax pastilles
- 1/8 tsp. agave nectar
- 10 drops essential oil. I used Young Living’s Orange (YUM).
- 1/8 tsp beet root powder (please, please, please read my notes on this)
How to Make Heart Shaped Lip Balm:
- Wash your tins and cookie cutters in warm soapy water and set out to dry. You must make sure there is no moisture in them before using. I like to do this the night before.
- Melt the coconut oil and beeswax in a double boiler over very low heat. If you have not made lip balm before please read either of these recipes for better instructions with photos: Peppermint Lip Balm or Lavender Orange Lip Balm. For this outer part I did not add the agave or the Orange Oil at this point so that the mixture could be reheated for the heart insert.
- Place the cookie cutter inside the metal tin making sure it does not touch on any part of the outer circle. It should just fit.
- Fill the outside part with the balm mixture using your pipette. This one is almost a bit to close to the edge in that one spot but the wax still flowed around.

- Let harden on the kitchen counter for about an hour. Putting it in the fridge will cause sinkholes in the wax. Should you get sinkholes, simply add a bit more of the melted wax mixture into the holes and use a warm hairdryer to smooth out the wax before you remove the mold. This is what sinkholes look like:
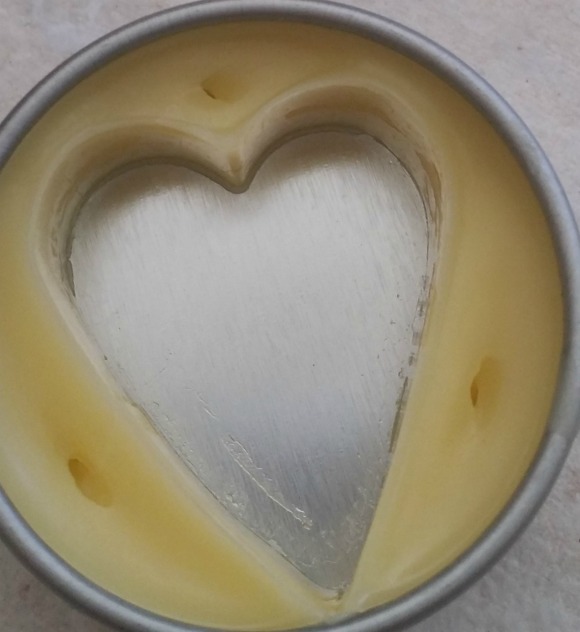
- After the wax has hardened, grab the lip of the mold and twist very gently to loosen and lift it straight out. You just want a teeny tiny twist.
- Reheat the left over mixture. Once it is liquefied, remove from heat and add in agave, essential oils and beet root powder. *Note about beet root powder: it does not mix well. I was able to attain the hue in the picture by constantly stirring and smashing the powder with the back of the spoon. It wants to bead and settle at the bottom. I used the pipette to draw the melted wax from the top and leave the solids behind which had a slight amount of color to it. This amount will not tint your lips. It is just for the design aspect. I also tried Ningxia Red and Pomegranate juice when making this. Neither work because they will not mix with the wax. If you want a darker hue I have seen posts recommending natural food coloring. I was happy with this slight tint so I didn’t pursue it further but my guess is that it wouldn’t mix either.
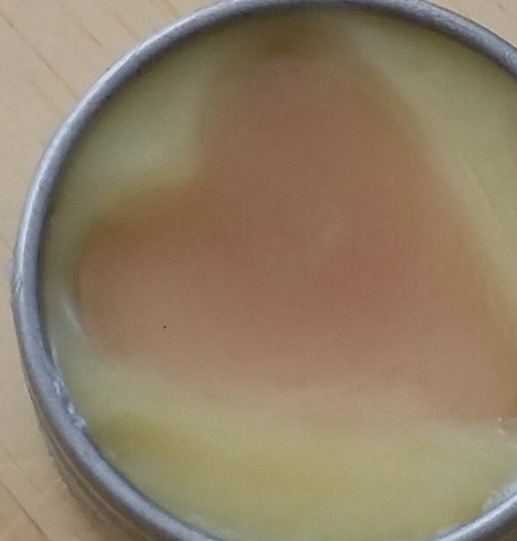
- Fill in the heart shaped cut out left behind with the tinted balm mixture. Be careful not to overfill. Let set on the counter until completely hardened. This is what you should end up with:
If you have any wax mixture left, let it harden and mix it well with a spoon, smashing it almost with the back of a spoon. At this point the beet root powder that would not mix while in the hot liquid will mix nicely and you can scoop it into another tin of just colored lip balm.
Any questions? Ask away in the comments….


Do you think that Mica powder would work? I see that in recipes all the time and keep meaning to buy some to try it in lip balm. I love that you were HONEST about what didn’t work!! Thank you
I would give mica powder a try. I think that the problem is that nothing wants to mix well with the beeswax…which is probably why all these makeup companies use nasty chemicals.
And PS–you’re welcome. Nothing I hate more than spending a ton of money to do a cute craft I see online and having it not turn out.