We may earn money or products from the companies mentioned or linked to in this post, including Amazon Affiliate links.
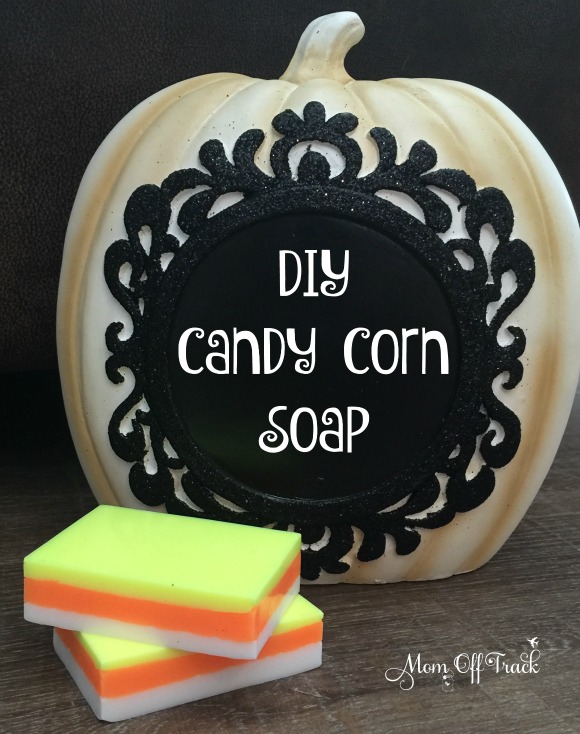
I’m all for anything that gets people washing their hands more this time of year! This DIY Candy Corn Soap is a lot of fun to make and it looks and smells great! I originally came up with the recipe with my niece and she loved it–so this is definitely mom tested, kid approved!
The good news is that if you have made any of my other DIY soap projects, you probably have most of the items on hand to make this today. If not, click on the Amazon (affiliate links) to get them ordered quickly. Here is what you will need:
DIY Candy Corn Soap Ingredients
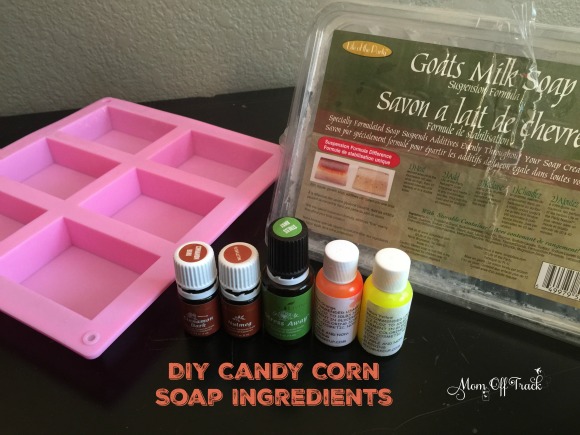
- Soap Colorant
- Olive Oil Soap Base
- Goats Milk Base
- silicone soap mold
- Young Living Essential Oils– for this I used a combination of Stress Away, Nutmeg and Cinnamon Bark (so that it had a Snickerdoodle scent) but you could do this just as easily with Thieves (like in this How To Make Soap For Kids tutorial)
DIY Candy Corn Soap Instructions:
You need to make this soap in 3 stages (for each of the colored layers) and plan time in between for each layer to cool. The actually time to make the project is about 25 minutes but add your drying time into that when planning. This recipe will yield two bars. Please double/triple as necessary.
Step 1: Yellow Layer
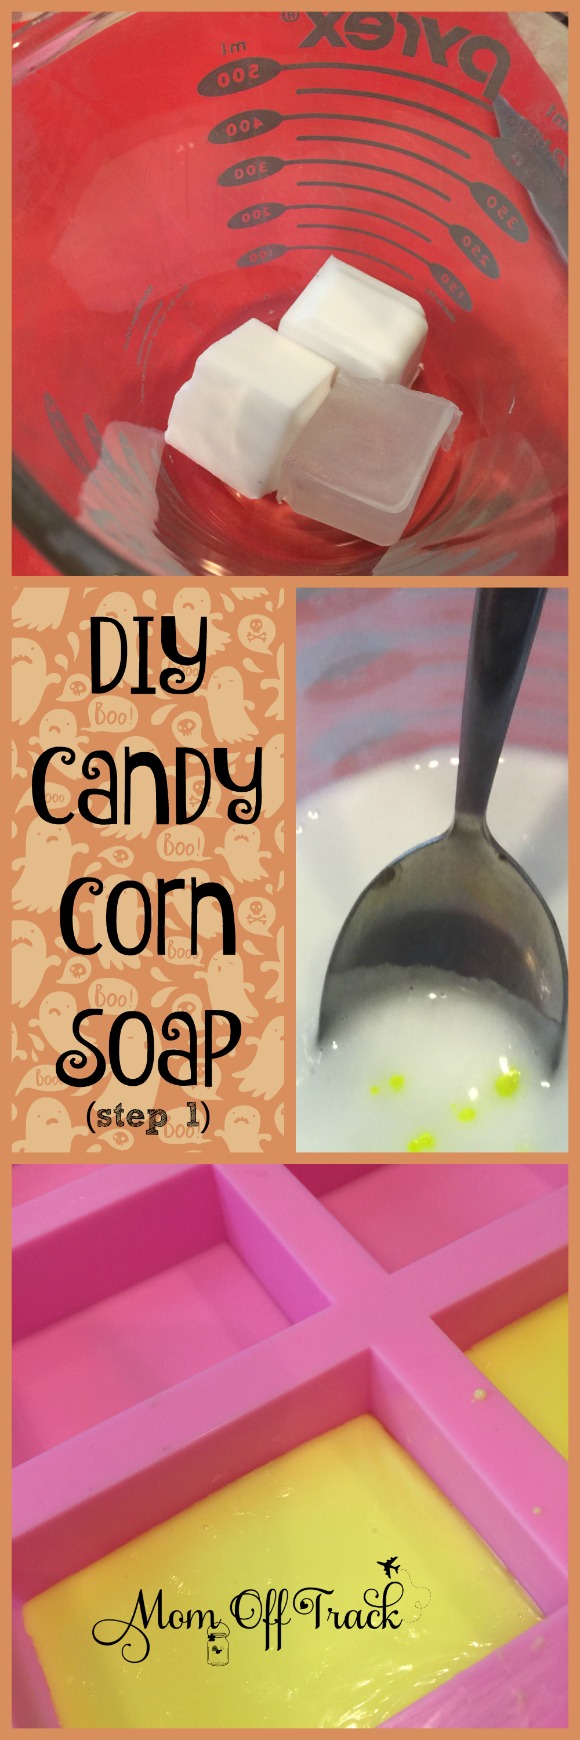 Add two blocks of the goats milk soap base and 1 block of the olive oil soap base to a Pyrex measuring glass. I melt this in the microwave on 50% power for 1 minute, however, it is perfectly OK to set the glass in a pot of boiling water to create a double boiler effect (like we did in the latest DIY lip balm).
After the soap is melted add:
- 1 tsp yellow colorant
- 3 drops Stress Away Essential Oil
- 1 drop Nutmeg Essential Oil
- 1 drop Cinnamon Bark Essential Oil
Stir until well blended. Test that the color is strong enough by dropping a drop on a white plate. Add more colorant if necessary. Pour into silicon mold making sure mold is completely flat dividing the mixture between two soap slots.
Completely wash and dry the Pyrex cup so that it is ready for Step 2. You cannot have any water drops in the glass for these steps.
Step 2: Orange Layer
When the yellow layer is completely dry (about 30 mins) begin the steps for the Orange layer. For this layer add 2 blocks of the olive oil soap base and 1 block of the goats milk soap base into the Pyrex measuring cup and melt as you did above.
This time add:
- 1 1/2 tsp of the orange colorant
- Same oils if you wish. I skipped the middle layer so it isn’t too strong.
Make sure you test this orange color by dropping it on the white plate. It can be tricky to get dark enough. Pour into silicon mold over the yellow layer making sure mold is completely flat dividing the mixture between two soap slots.
Wash out the measuring cup and let this layer harden up.
Step 3: White Layer
When the orange layer is completely dry, add 3 blocks of the white goats milk base to the glass measuring cup and melt. Add oils to the mixture as you did in Step 1. Stir well and pour mixture over the orange layers.
Let dry completely, pop out of molds and clean up!


